The menus
The menus of the SW240 follow the design already used by predecessor models: large, easy to read and excellent organization. They are very similar to those of SW271 with a few small changes.
When you press any of the buttons, a simple menu with icons appears:
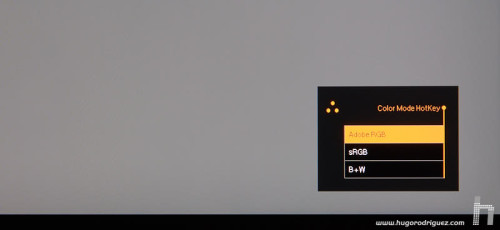
At first sight you can see a new icon, the first one on the left. It allows you to switch between the different factory pre-calibrated modes:
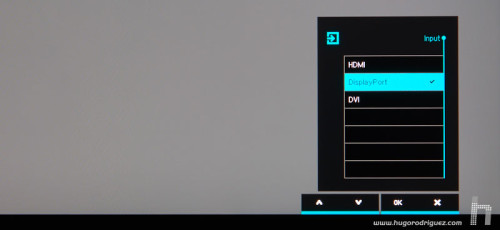
The second allows you to quickly switch the source:
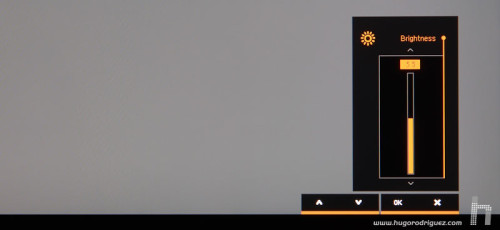
With the third you can quickly access the brightness:
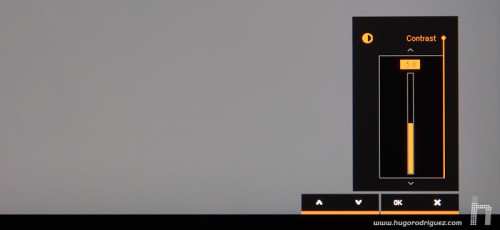
With the fourth you adjust the contrast (then I will show how you can customize this so that other options appear instead of this one):
With the last one you enter in the menu:
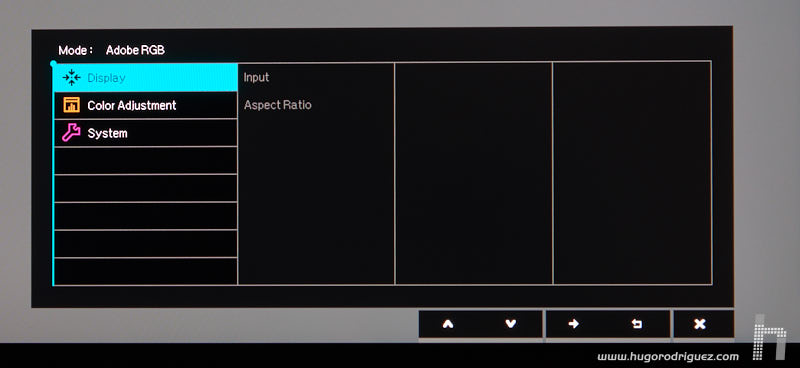
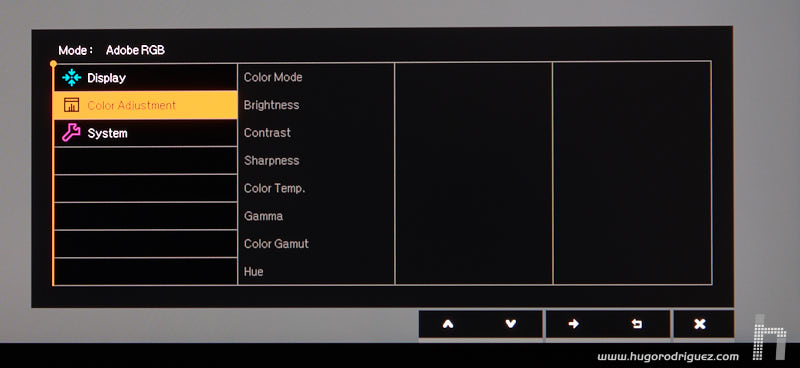
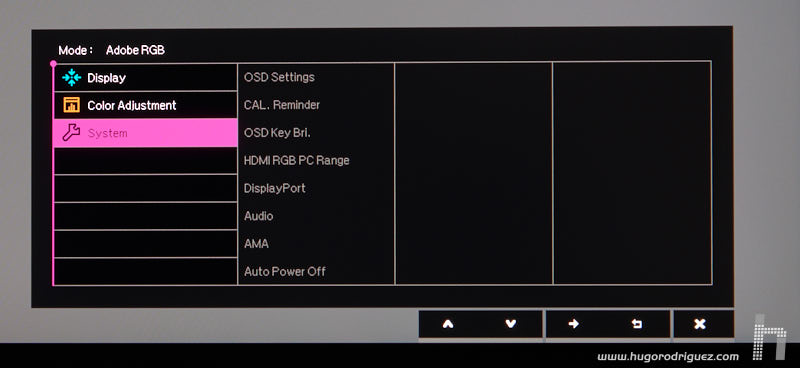
From the very beginning the absence of a menu is noticed: PBP/PIP. That’s because this model doesn’t have the GamutDuo system that its big brothers, the SW271 and the SW320, count on. This allows to lower its price (I suppose considerably).
Within the color mode menu, you will find some very similar modes to SW271, except for the absence of HDR mode:
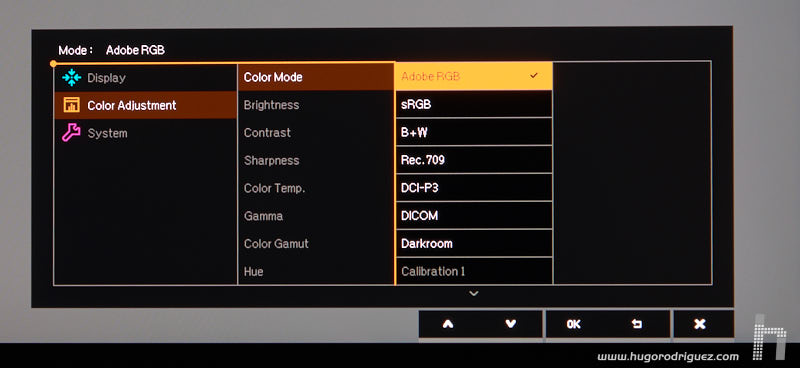
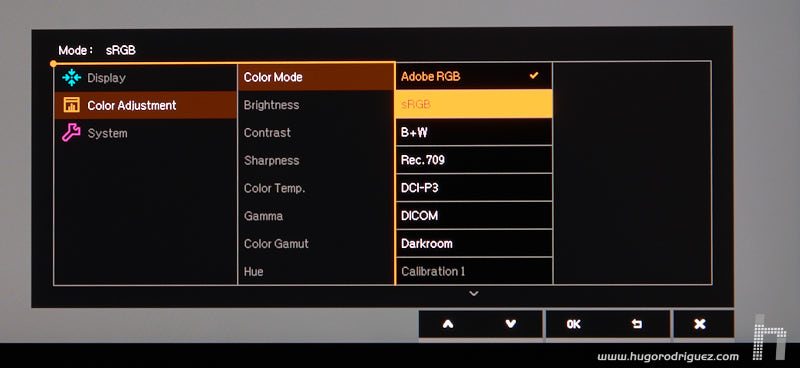
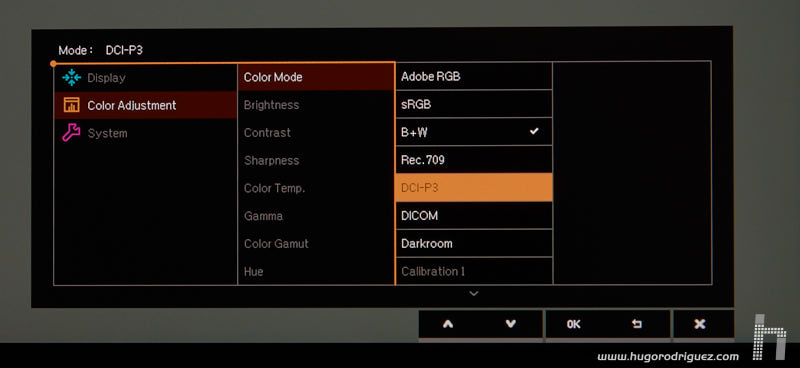
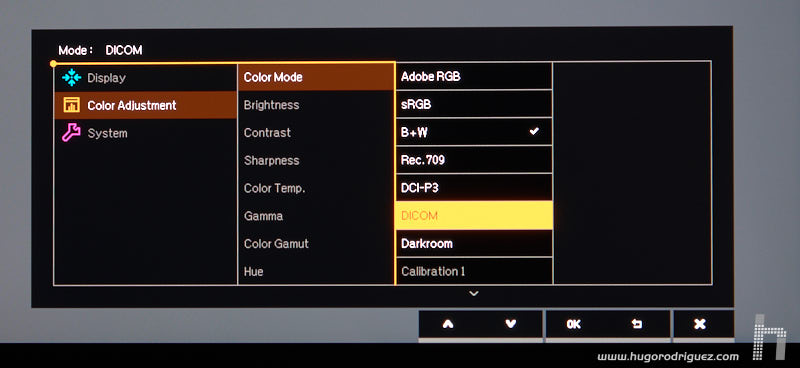
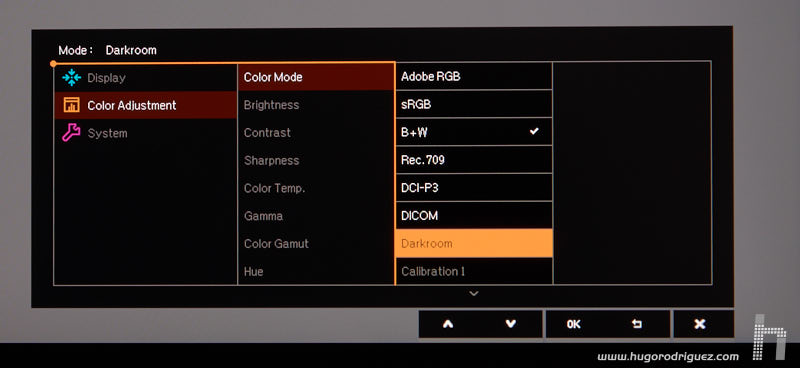
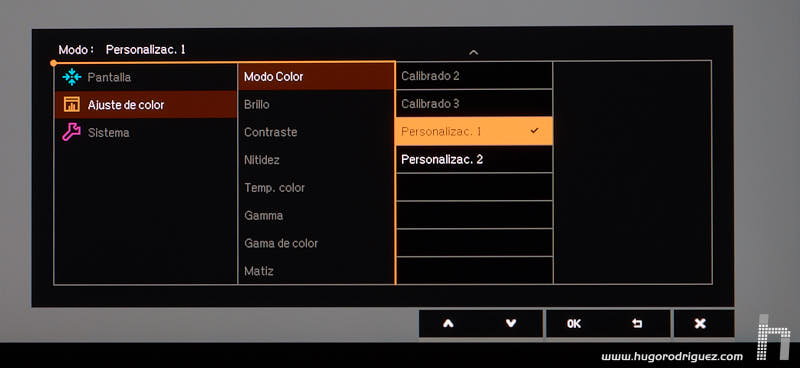
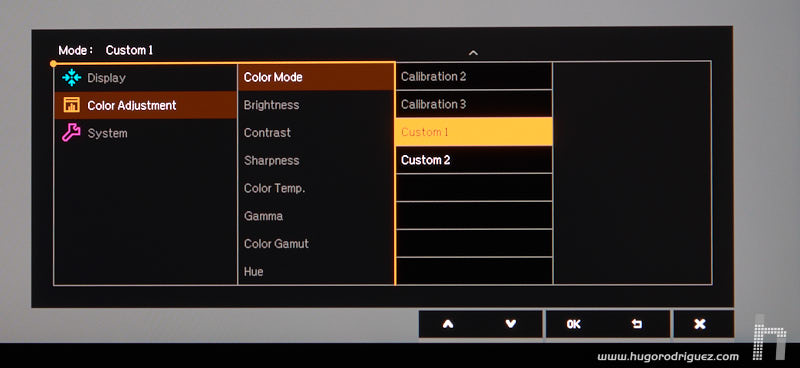
- Adobe RGB and sRGB modes, perhaps the most important ones, are carefully calibrated from the factory and guarantee a minimum color deviation from each of the standards. In these modes the screen activates the uniformization system. The only drawback is that many parameters cannot be adjusted to your taste in these modes.
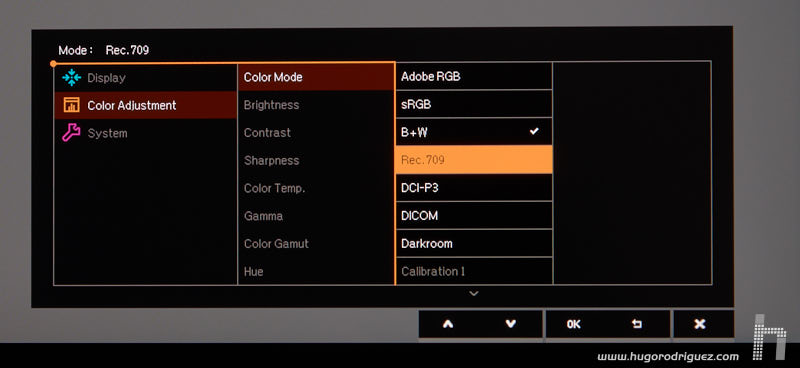
- The Rec709 and DCI-P3 modes are ideal for those who edit video for TV/Web and cinema, respectively.
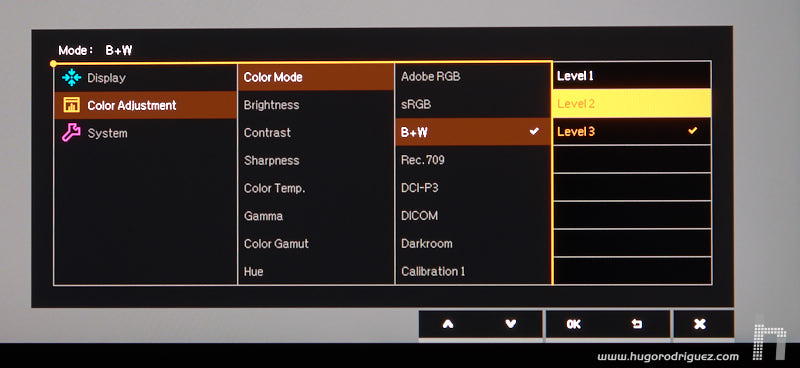
- The B&W mode, which shows the screen in black and white (useful for working with this type of photos), and which also has three different settings, which I will discuss later.
- The darkroom mode, which lowers the brightness almost to the minimum, and which is ideal for rooms with very dim lighting.
- DICOM mode is useful for working in medical environments. This type of setting is used especially when looking at X-ray images.
Now let’s take a closer look at the menus. Adjustment is possible via the Image menu:
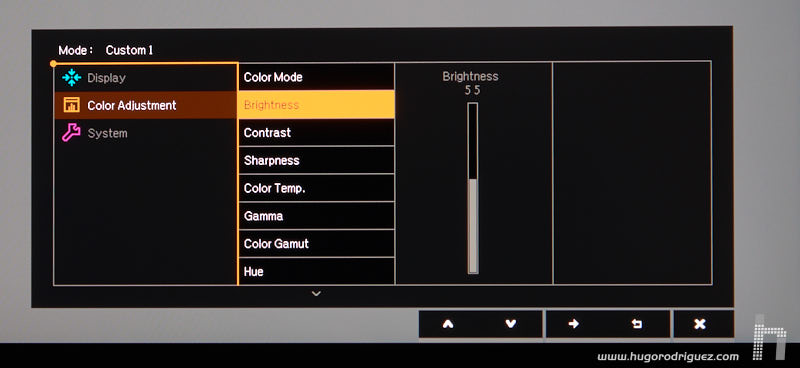
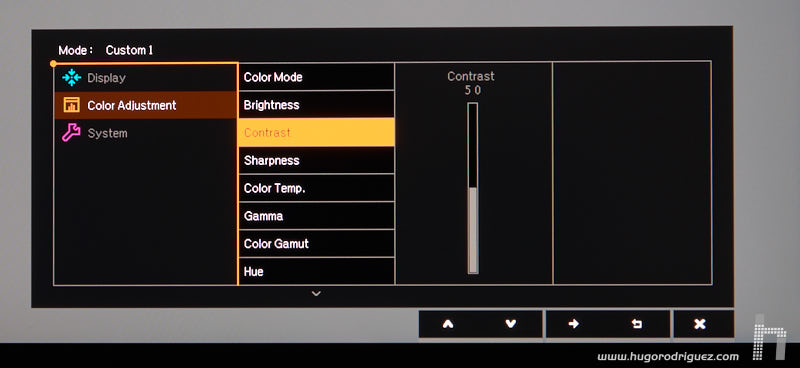
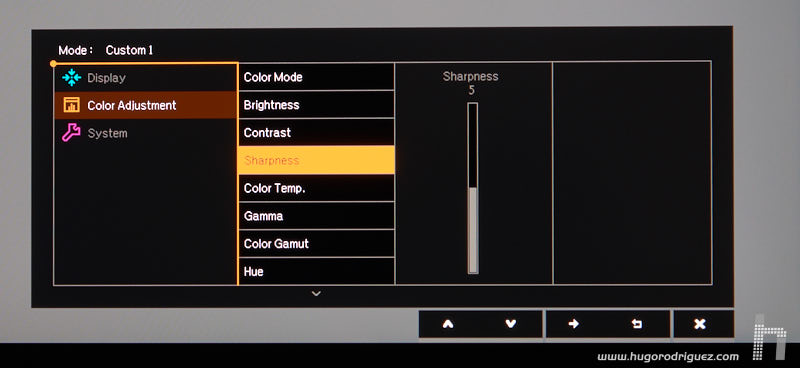
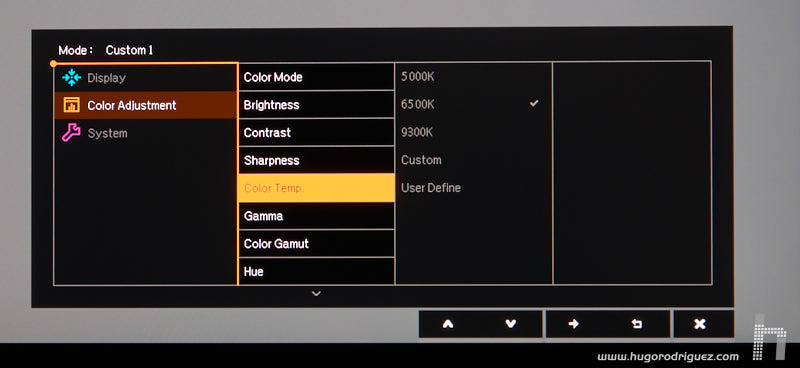
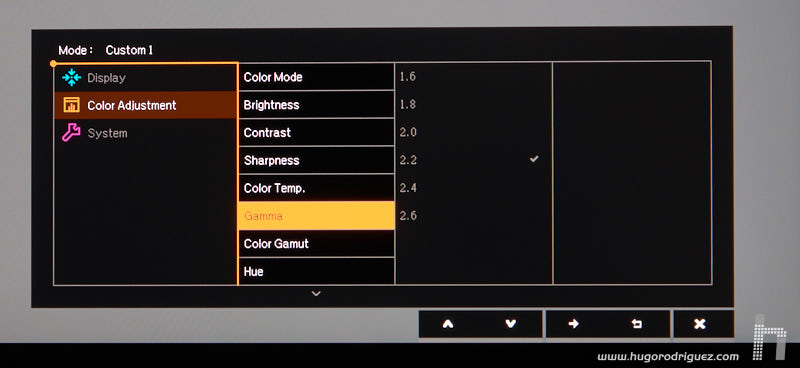
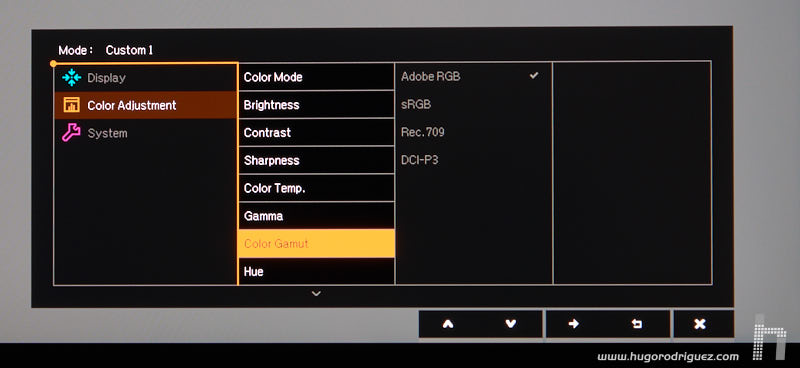
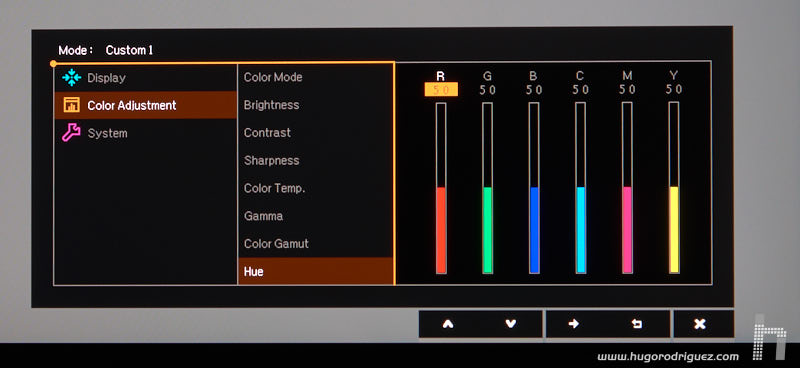
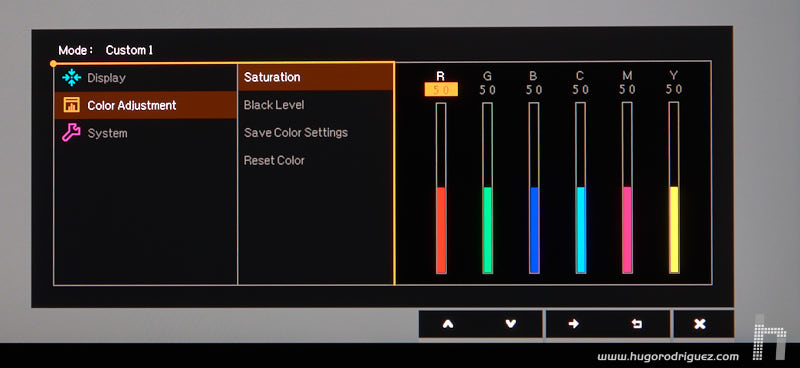
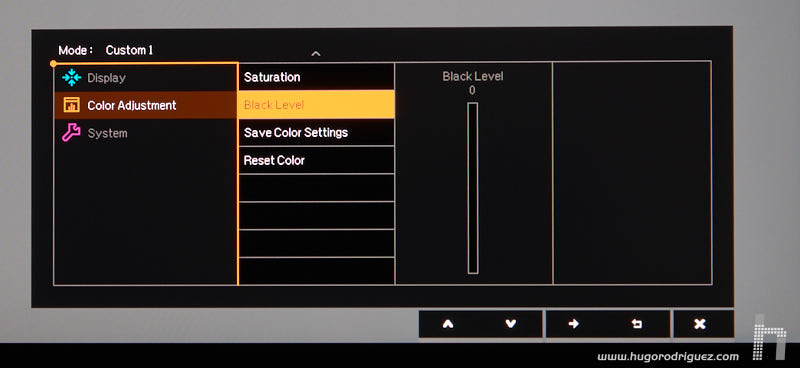
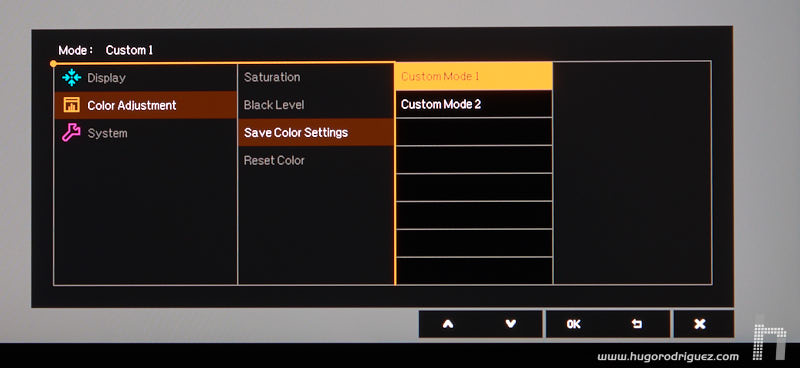
- Color Mode. These are presets such as Adobe RGB and sRGB (factory calibrated), ‘Calibrated’ (the one used for hardware calibration with the Palette Master Elements software) or ‘Customized’ (which allows you to manually adjust everything).
- Brightness. It reaches almost 250 Cd/m2, in line with other models.
- Contrast. Not very useful for photographers, but perhaps it is with the monitor connected to a Blu-ray player, media player or other similar sources.
- Sharpness (no need to explain, I guess)
- Gamma curve. It can be manually adjusted between 1.6 and 2.6.
- Color gamut. You can choose between the Adobe RGB, sRGB, Rec.709 and DCI-P3 gamuts. The good thing about being able to choose the gamut here is that, unlike presets with the same name, is the fact that this gamut can be combined with any gamma curve and any white point, which can be saved in one of the two custom modes, which gives much more flexibility to use the monitor as you want.
- Hue and saturation of each of the 6 primary modes, independently. It’s essential to manually calibrate a screen for serious video playing/editing.
- Black level, which allows you to adjust it to make it less dense if you prefer. This can be useful in some cases to facilitate matching when printing with matte papers.
- With Save Color settings you can store them in either of the two memories you have made manually in the sections above. It is important to keep this in mind because, unlike other monitors, in custom mode they are not stored directly; until you save the setting in one of the memories, they won’t be permanently stored.
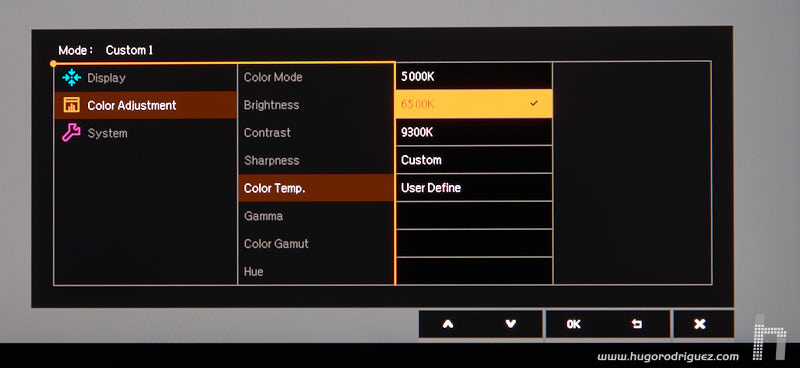
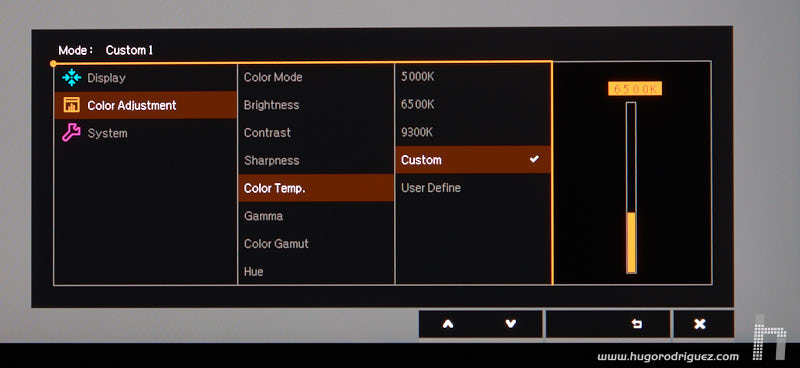
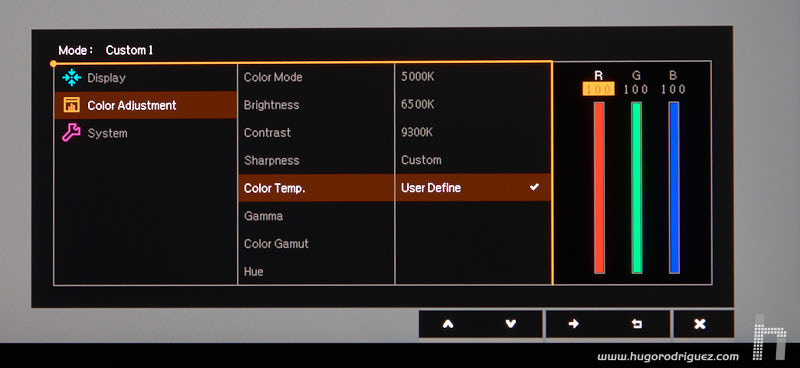
Colour temp. it is possible to adjust it with various presets between 2.800K and 9.300K, manually or by RGB adjustment:
Continues in page 3…

